


Airport kiosk has revolutionized how travelers navigate the airport experience, streamlining processes like check-in, baggage tagging, and even boarding passes. These user-friendly machines are designed to save time, reduce congestion at service desks, and offer seamless travel experiences. As airport operations have evolved, the trend towards automation has become essential. Learning how to use an airport kiosk is now a vital skill, whether for frequent flyers or occasional travelers, making trips more efficient and stress-free. As a professional airport kiosk manufacturer, we will deeply explore How to use a kiosk at the airport and its growing impact on modern travel.
How to use a kiosk at the airport step by step
Below is a detailed flowchart for the airport kiosk check-in process

Based on the flowchart, here's a step-by-step guide on how to use a kiosk at the airport. First, start by approaching the kiosk located near the check-in area. Select your preferred language from the screen options, then scan your passport or input your booking reference number. After that, follow the prompts to review your flight details and confirm your seat selection. The kiosk will then print your boarding pass and any necessary luggage tags. Attach the luggage tags to your baggage securely, and proceed to the designated bag drop-off counter. This streamlined process minimizes waiting times, reduces the need for manual assistance, and ensures faster, more efficient check-in, revolutionizing airport operations and making travel more convenient.
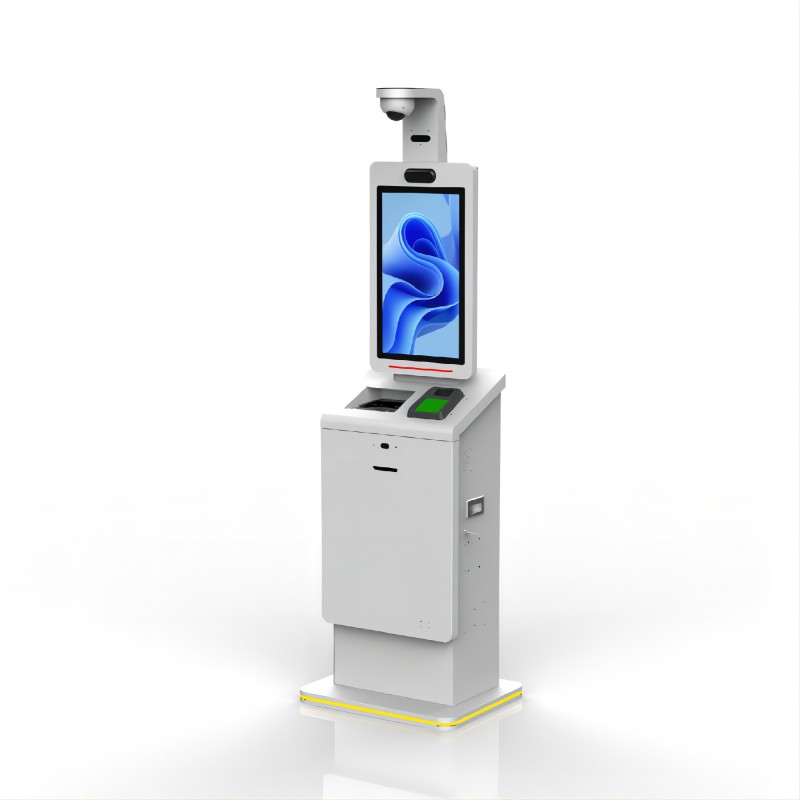
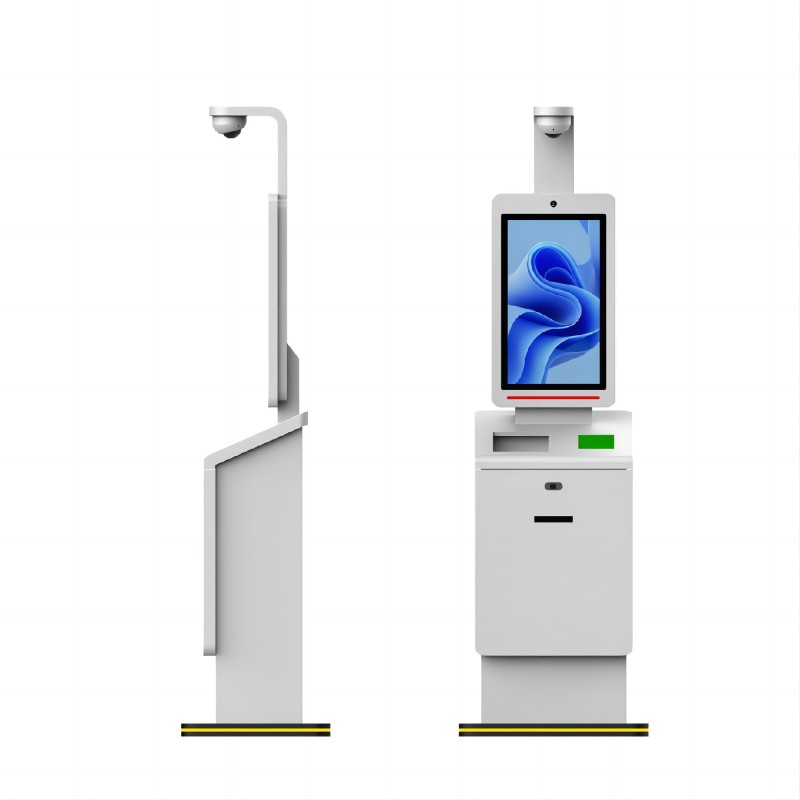
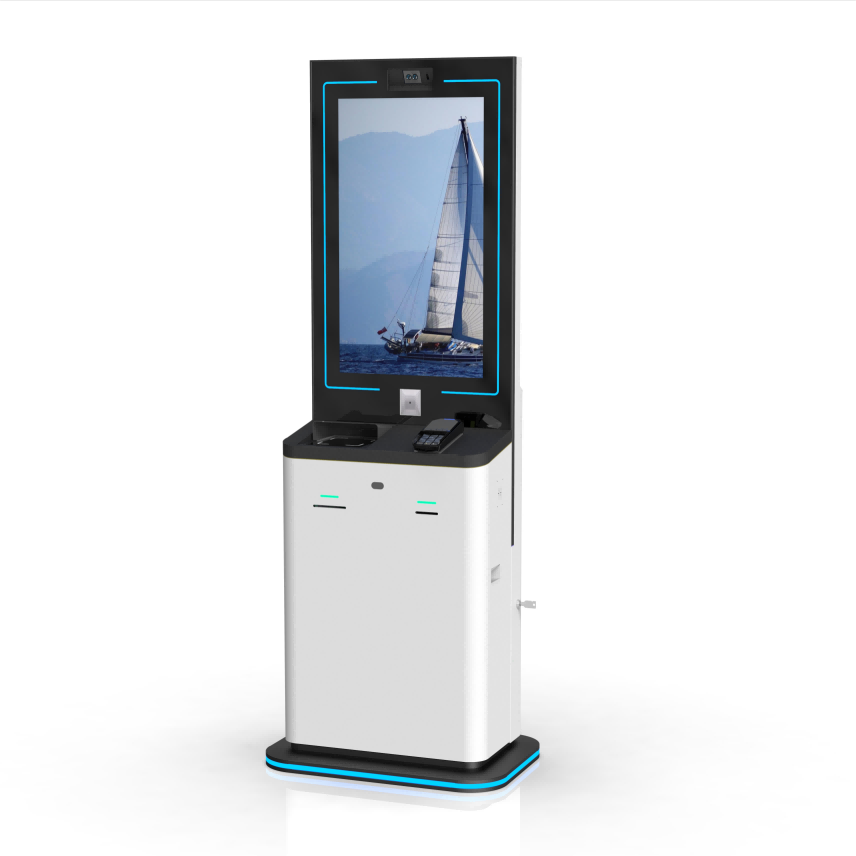
Flowchart: How to Use a Kiosk at the airportStart ↓ Arrive at the Airport ↓ Approach the Airport Kiosk ↓ Touch the Screen to Start ↓ Select Language ↓ Provide Identification (Booking Reference, Passport, etc.) ↓ Review and Confirm Flight Information ↓ Select Baggage Options (Check-in Bags, Hand Luggage) ↓ Print Boarding Pass and Baggage Tags ↓ Attach Baggage Tags (for checked luggage) ↓ Complete the Check-In Process ↓ Proceed to Security and Boarding ↓ End | Picture overview of how to use a kiosk at the airport
|

Guide table: How to use the kiosk at the airport
| Step | Action | Description |
|---|---|---|
| 1. Approach Kiosk | Find the kiosk near the check-in area. | Kiosks are usually located by the check-in counters. |
| 2. Select Language | Choose the desired language on the touchscreen. | This ensures that the instructions are easy to follow in your preferred language. |
| 3. Input Information | Enter booking details or scan your passport. | You can either manually input your flight booking reference or scan your passport. |
| 4. Review Flight Info | Check flight details and confirm. | Verify the information, such as destination, flight number, and seat assignment. |
| 5. Print Boarding Pass | Receive printed boarding pass and luggage tags. | The kiosk will print your boarding pass and tags for checked baggage. |
| 6. Attach Luggage Tags | Secure the tags on your luggage. | Attach the tags to your checked luggage securely. |
| 7. Proceed to Bag Drop | Go to the bag drop counter to check in luggage. | Drop your tagged bags at the designated area and proceed to security. |